Introduction
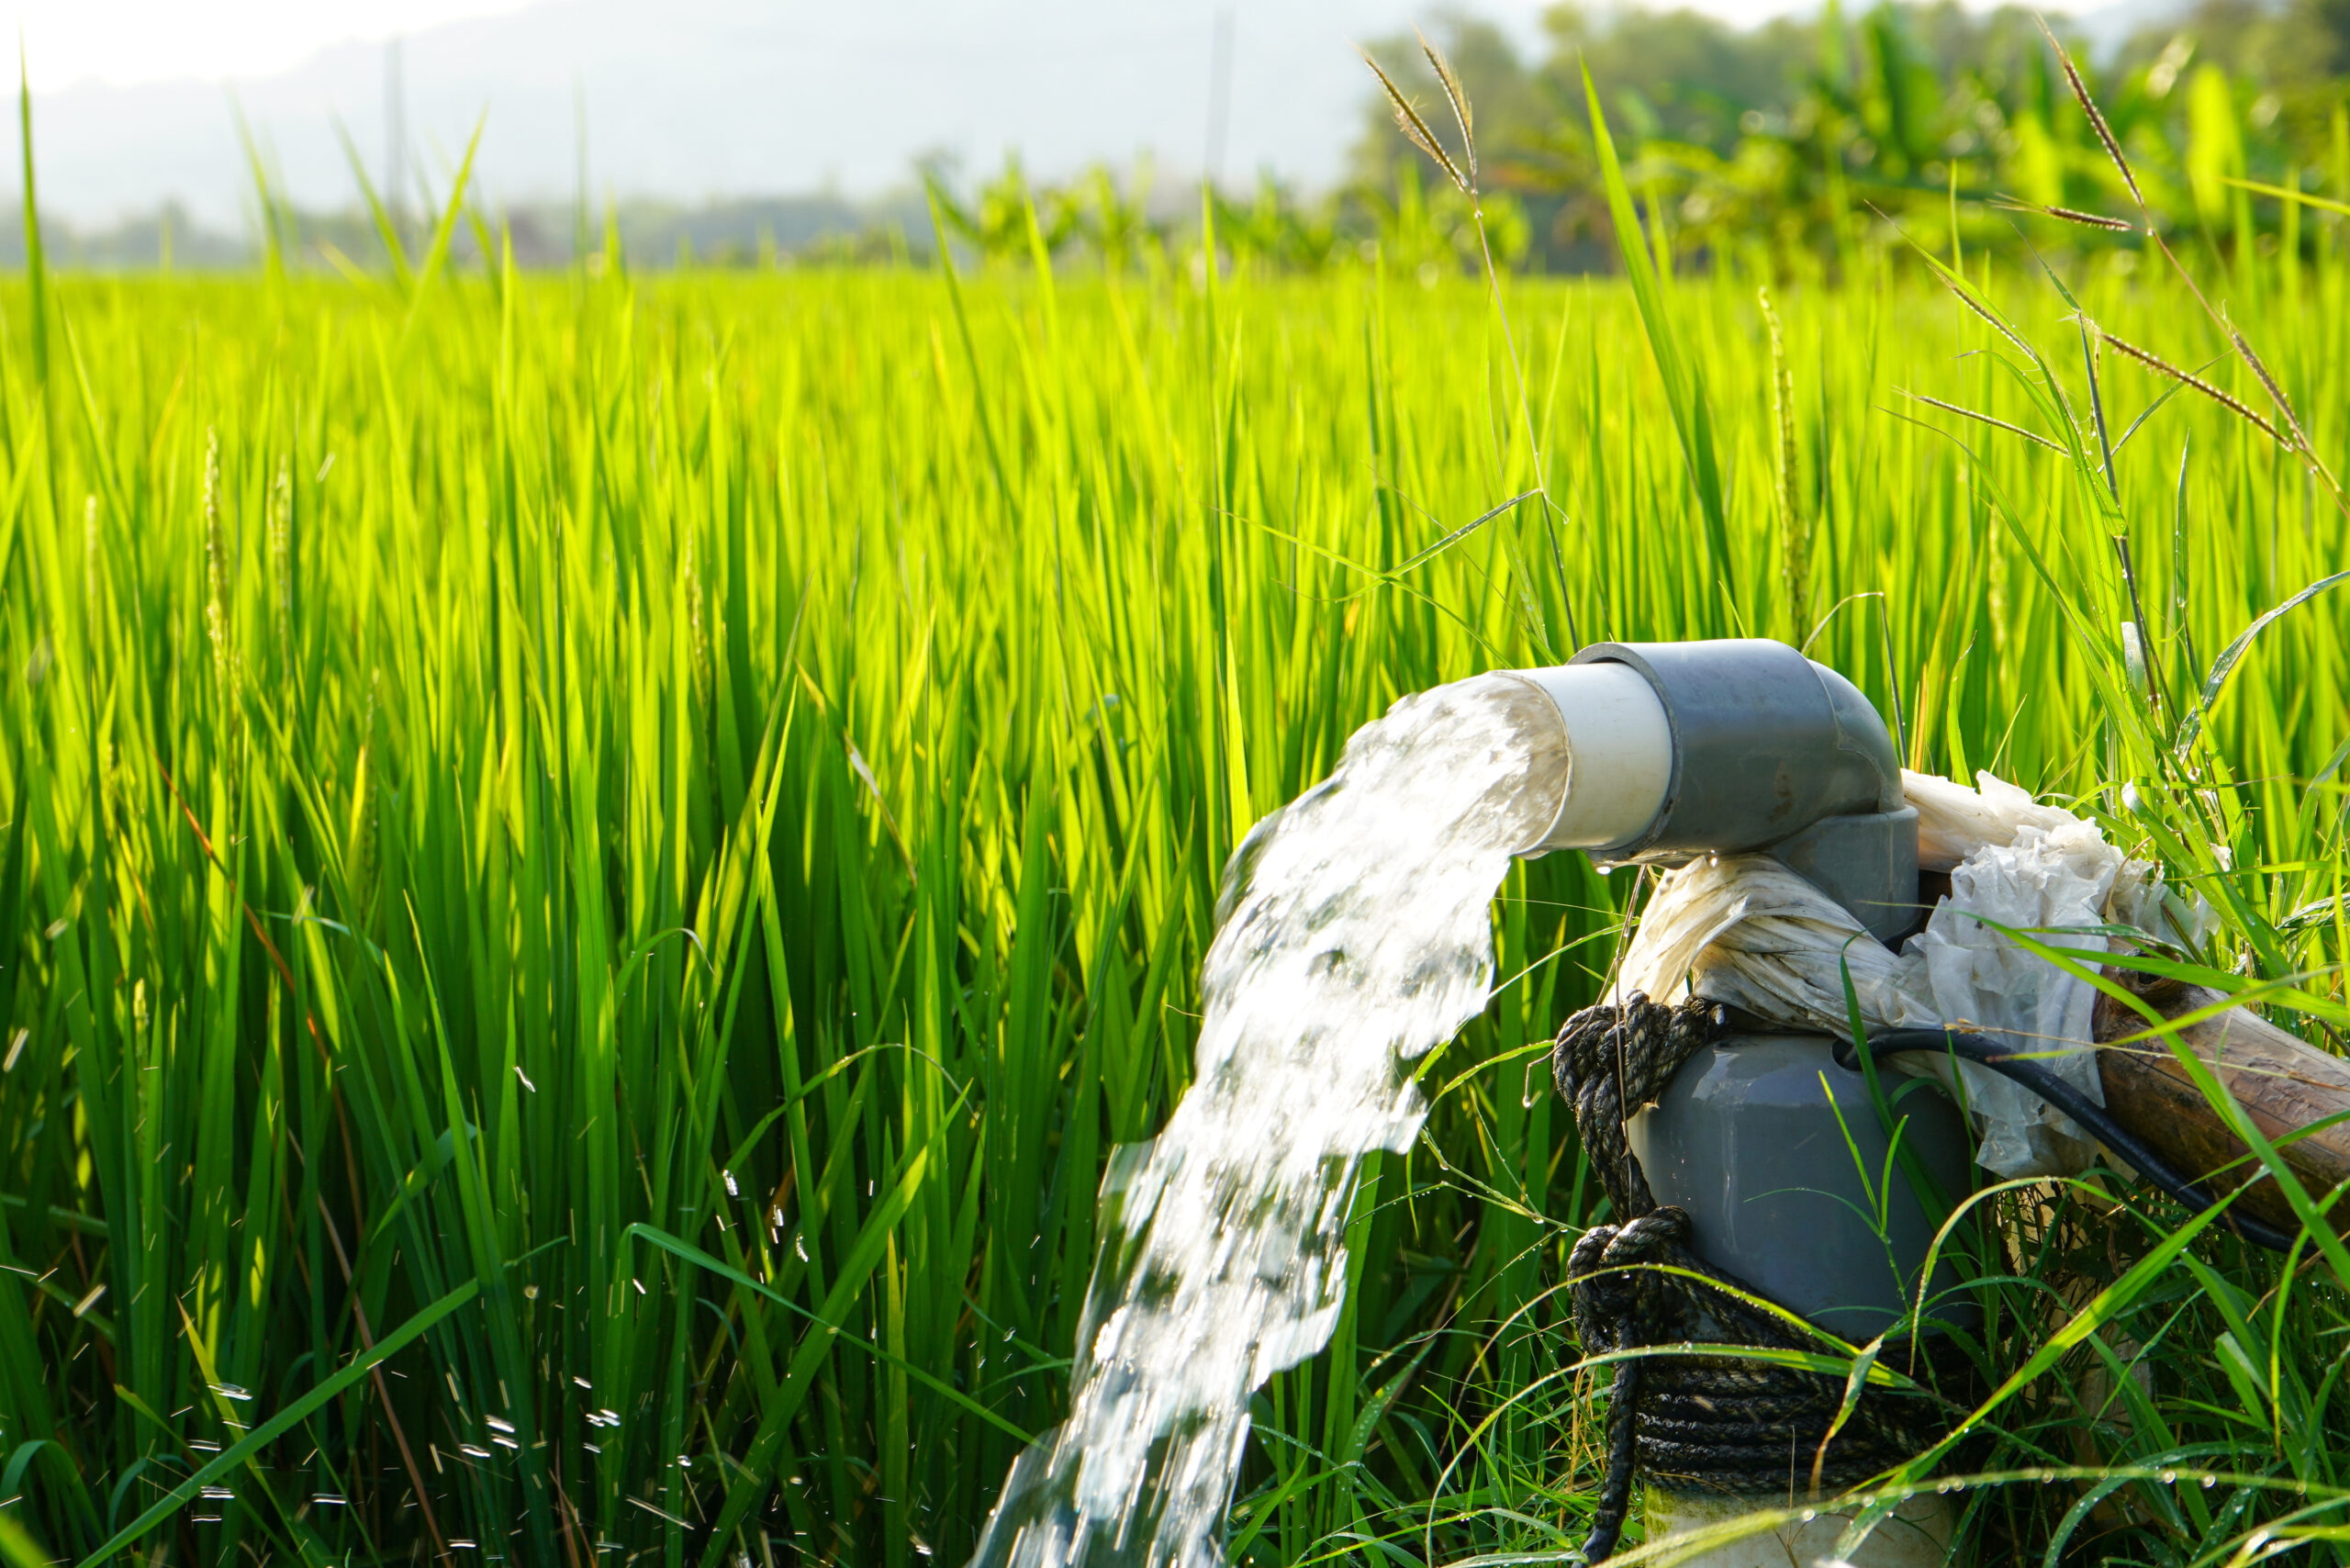
If your home, farm, or small business relies on well water, installing a deep well pump is the most suitable pump for you. A well pump will pump clean, deep underground water and deliver it straight to your tank or tap. It’s quietly doing the heavy lifting every day.
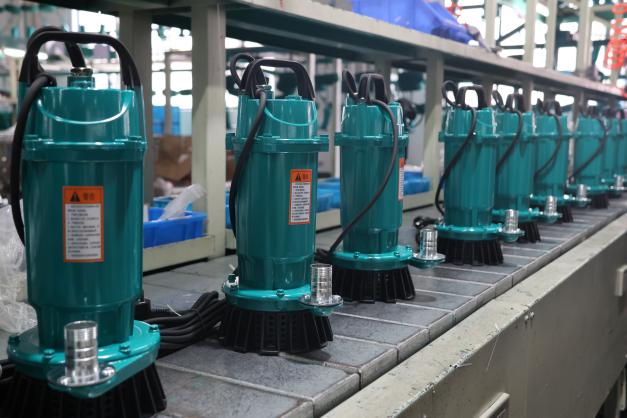
Deep Well Pump is a kind of pump that can get water from deep wells and deep underground water sources. It’s usually installed deep underground in a well to raise water up to the ground.
Installing your own deep well pump might sound complicated, but if you follow our guide, it may not as complicated you think,
This friendly step-by-step guide will help you do every part of the process, from preparation to testing。
Let’s get started!
A proper installation is important for the pump performance and lifespan. Improper installation can increase pump vibration, decrease the efficiency of the pump motor, make more noise while the pump is running, and even more serious problems like motor overload, bearing damage, cause failure of the seal, and impeller wear, thus making the pump’s lifespan shorter and increasing extra costs.
The correct installation guarantees the well pump will operate at its best, improve the efficiency, reduce the electric consumption, and increase the pump’s lifespan. A reasonable piping layout, reliable mounting supports, correct electrical connections, and good water supply conditions are all important factors in extending pump life and a stable system operation.
Pre-Installation Preparations
Site inspection:.
Check well depth, casing diameter, static water level, and dynamic water level to check the wellhead and surrounding area are suitable for installation operations.
Water quality testing:
Sediment, pH, or iron content can influence pump selection. The water quality will influence the choosing of the pump body material, filtration equipment, and subsequent maintenance.
Confirm pump specifications:
Flow rate (GPM / LPM), head, voltage, power rating. Confirm the pump’s rated flow, rate head, voltage, and power to make sure it meets your needs.
Determine pump size and capacity:
Choose the pump’s performance curve based on yout needs. It can avoid low efficiency, high power consumption, or frequent failures due to improper models.
Tools You’ll Need
Wrenches / Socket set, Screwdrivers, Cable crimper / Wire cutter & stripper, Electrical tape / Waterproof tape / Heat-shrink tubing, Multimeter, Hoist / Lifting belt / Pulley, Safety rope or stainless-steel cable, Pipe wrench / Adjustable wrench,
Safety Precautions
1. The power should be cut off before operating or installing the water pump to ensure safety.
2. When lowering the pump, wear protective gloves and safety shoes to avoid hand and foot injuries.
3. Never work alone when installing heavy equipment. There should be two people at least working together to prevent accidents.
4. All electrical parts must be kept dry and protected against wet to prevent short circuits, electrical leaks, or equipment damage.
5. Electrical and plumbing standards must be strictly followed during installation, to make sure the system operates safely, compliantly, and reliably.
Step-by-Step Installation Guide
Step 1: Check and prepare the pump
Check if the pump’s appearance, impeller, motor, and cable connection are intact. Make sure there’s no damage, and the model and voltage are suitable.
Step 2: Connect the electrical cable
Waterproofing the pump cable ensures reliable insulation.
Step 3: Attach safety rope or stainless cable
Attach the safety rope or stainless cable to the pump body lifting ring to use it as a lifting and protection device.
Step 4: Connect the drop pipe
Securely connect the pipe to the water pump outlet, using sealing rings or Teflon tape to ensure a leak-proof connection.
Step 5: Low the pump slowly into the well
Lower the water pump slowly to avoid touching the well wall, make sure the pump is put vertically, and do not forcibly pull on the cable or water pipe.
Step 6: Connect Discharge Pipine
Connect the drain pipe to the outlet, install a check valve, and ensure that the drain pipe is firmly supported.
Step 7: Wire to the control box and main power
Please connect the control box, motor, and power supply according to the electrical wiring instructions, ensure good grounding, and check whether the protection functions are good to use.
Electrical Wiring & Control Setup
When installing the pump, please strictly follow the manufacturer’s wiring diagram. Choose the appropriate cable size according to the cable lenth and current, and install circuit breakers or overload protectors. Ensure the water pump motor is properly grounded. Before starting, test the voltage and phase balance to ensure stable system operation.
First Start-Up
During the first startup, partially open the discharge valve before connecting the power. Check whether the water pump runs smoothly and if there are any abnormal sound or vibration to ensure the equipment is safely and reliably put into operation.
Post-Installation Checks
After installation, please measure the water flow and water pressure to confirm that the pump performance meets expectations, Carefully inspect the pipeline for leaks or if there is air in pipeline to make sure that the entire water supply system works stably and reliably.
Common Installation Mistakes to Prevent
Use undersized cable or piping.
Undersized cables will cause voltage drop, overheating. Undersized pipes will reduce pump performance — if you’re unsure about sizing, please ask your pump supplier for help.
Installing pump too close to well bottom.
The pump should be installed at least 3–5 meters above the well bottom to prevent sand, silt, and scrips from being sucked, which can damage the impellers and motor.
Poor waterproofing of electrical connections.
Electrical joints must be sealed with proper waterproof junction boxes and heat-shrink tubing to prevent wet and power problem.
Running pump dry during testing.
Dry-running can quickly overheat and damage the motor and bearings — always test the pump with water fully covering the inlet before switching it on.
Maintenance Tips
1. If the water contains sand, flush the system immediately to prevent impeller wear and pipe blockage.
2. Test the motor insulation resistance annually to make sure safety and good operation of the electrical system.
3. Regularly record pump operating data (flow rate, pressure) to monitor performance change and identify problems early.
4. Replace worn check valves or O-rings immediately to prevent leakage, backflow, and lost efficiency.
Troubleshooting Guide
Low water pressure/flow:
Check if there’s blockage, worn impeller, or low voltage.
No water output:
Check if there’s dry well, air lock, faulty foot valve, or pump not primed.
Frequent tripping:
Check if there’s overload, wiring errors, or short circuit.
Conclusion
Proper installation is important to make sure safe and efficient pump performance and make its service life longer. If you are unsure about any installation steps, please contact a professional expert or consult your supplier for guidance. Contact us today for technical support and pump solutions!
FAQ
How do I know what size of submersible pump I need?
You should size your pump based on well depth, water level, total head, and daily water demand. Review the pump performance curve to match flow and head requirements. If you’re not sure, contact your supplier for proper selection.
How deep can a submersible pump be installed?
A submersible pump is typically installed 3–5 meters above the well bottom to avoid sand and sediment. Adjust installation depth according to the static water level to make sure consistent water supply.
Can I install a submersible pump by myself?
Yes. But we recommend having a qualified electrician or technician assist with electrical wiring and lifting. Proper installation makes sure safety and protects your pump.
Do I need a check valve for my well pump?
Our deep well pump comes with a built-in check valve. If you are using another brand, confirm with the supplier whether an external check valve is needed.
How long should I run the pump for test?
Run the pump for a few minutes to check the flow rate, head, and operating sound. Ensure water is stable and the pump does not run dry during testing.