Introduction
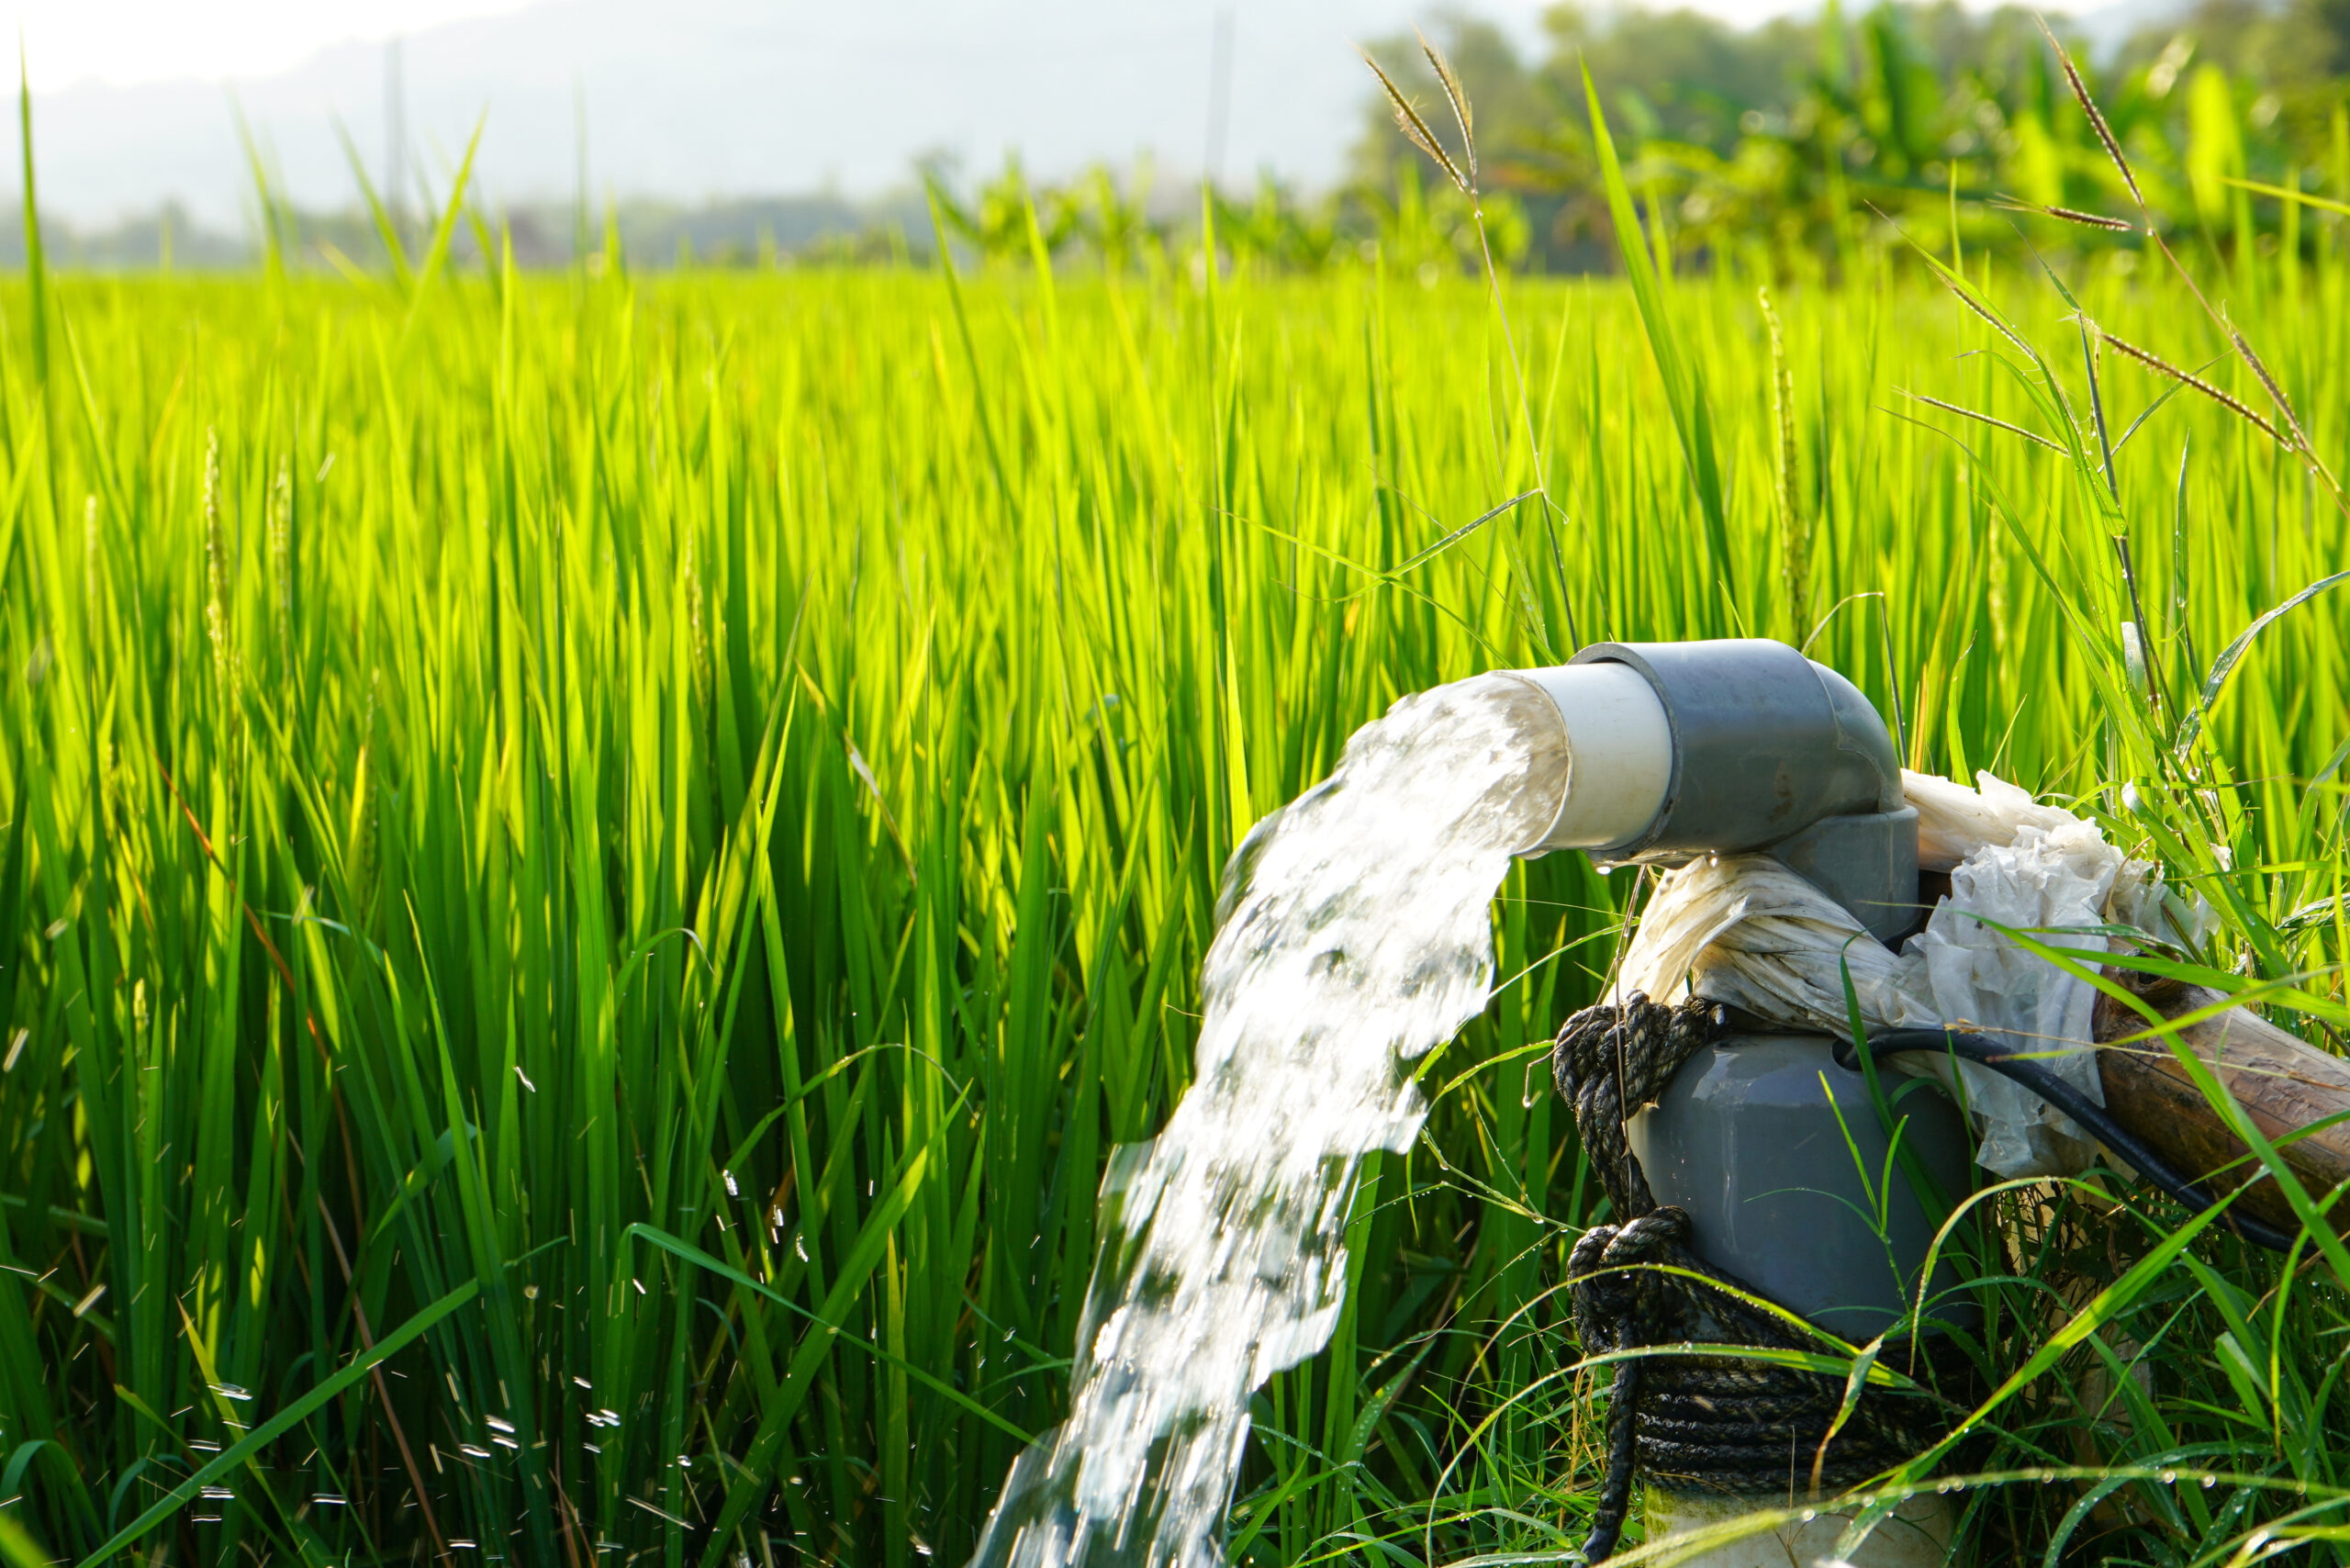
Many homes have faced these situations: water pressure drops suddenly, water pump cycles on and off frequently, or the water pump keeps running all the time.
Behind these problems, the key component is the pressure switch. As the core of the whole well pump system, it controls the pump on and off. If the pressure switch is not set correctly, your water pressure will be unstable, and affect the service life of your well pump.
When you want to increase the water pressure, reduce the frequent starts of the water pump, or when you find the cut-in/ cut-out pressure is not accurate, you’ll need to adjust the pressure switch.
Let’s begin this journey together to learn how to adjust the pressure switch safely and correctly!
Understanding Your Well Pump System
A well water system = well pump + pressure switch + pressure tank + plumbing system
The pressure switch is the control center of the whole system. It’s responsible for telling the pump when to start and stop. Without the pressure switch, the pump can’t work automatically, and will keep running on or off.
Cut-in / Cut-out Pressure
The pressure switch controls the pump by 2 pressure points: the cut-in pressure and the cut-out pressure.
Cut-in Pressure (When the pump starts)
It means how low the water pressure can drop. When the pipe pressure drops to the cut-in pressure, the pressure switch will tell the pump: it’s time to work!
Cut-out Pressure (When the pump stops)
It’s the highest water pressure allowed in the system. When the water pressure rises to the cut-out pressure, the pressure switch will ask the pump to stop working.
Example:
In a 30/50 psi system,
- When the water pressure falls to 30 psi, the pump automatically starts.
- This happens when you use water—like taking a shower or doing laundry—and the pressure begins to fall.
- When the pressure climbs to 50 psi, the pump stops running.
- The pump stays off until the pressure drops back to the cut-in level again.
Pressure Tank
The pressure tank is like a pressure storage bucket, helping you store a certain amount of water pressure so that the water pump doesn’t have to start all the time.
The pre-charge pressure must be lower than 2-3 psi below the cut-in pressure, or the pump will start short circly.
The pressure switch controls your home’s lowest and highest water pressure.
The pressure switch decides when your pump turns on (the lowest pressure) and when it turns off (the highest pressure). It actually determines the water pressure range of your water system.
Your water pressure range = from the cut-in pressure to the cut-out pressure.
If this range is set higher, you’ll feel stronger water pressure.
If it’s set lower, the pressure will feel weaker.
Higher cut-out pressure = stronger water pressure
- You will get a stronger flow from faucets.
- Your shower head will be more powerful.
- Your water pressure will be constant when several taps run at the same time.
So, increasing the cut-out pressure is basically increasing your maximum water pressure.
People who want a stronger shower often raise the cut-out slightly.
Lower cut-out pressure = lighter workload for the pump
If the cut-out pressure is set too high, the pump has to work much harder to reach the stop point. Older pumps or low-power pumps may struggle, run longer than they should, or may not reach the cutoff at all.
Higher pressure isn’t always better. It must match the pump’s capability.
The pressure switch sets the upper and lower limits of your home’s water pressure. The pressure tank must match these settings.
If the pressures are set too high or too low—or if the tank’s pre-charge doesn’t match—your water pressure and pump performance will be affected.
Symptoms of Pressure Switch Problems
Low Water Pressure
- The cut-out pressure is set too low. The pump will stop working at a low water pressure point.
- The switch aging and spring fatigue.
- The reading of the pressure gauge is not accurate, leading to the wrong action of the pump.
Pump Won’t Stop
- The cut-out pressure is set too high. The pump won’t stop until it reaches the cut-out point.
- There’s a water leak in your pipeline, and your plumbing system can’t maintain pressure.
- The contacts of the pressure switch are stuck together.
Pump Short Cycles
- The pre-charge pressure in the pressure tank is too high or too low.
- The pressure tank is broken.
- The water flow is too small.
- The pressure range between the cut-in and cut-out pressure is too small.
Troubleshooting Before Adjustment
- Check water tank & well yield
Before you touch the pressure switch, make sure the well actually has enough water. If the water level in the well is too low, the pump will keep running, but the pressure will never rise. It looks like a pressure switch problem, but the pump simply has nothing to pump.
- Check the pressure tank pre-charge
This is important because the tank and the pressure switch must work as a pair.
Here’s the simple way to measure it:
- Turn off the power to the pump
- Open a faucet and let all the water drain out
- Use a small tire gauge on the air valve at the top of the tank
The pre-charge should usually be 2–3 psi below your cut-in pressure.
If the air pressure is wrong, the tank won’t store pressure properly.
This can cause short cycling, low pressure, or the pump turning on and off constantly.
- Check the pressure gauge
Make sure the pressure gauge is actually telling the truth.
If the gauge is stuck, fogged, or the needle barely moves, you can’t rely on it—and adjusting the switch will be a guessing game.
A quick test:
Turn on a faucet. The pressure should drop smoothly.
When the pump turns on, it should rise again.
If the needle jumps, never moves, or shows numbers that make no sense, replace the gauge before doing anything else.
- Check for leaks or clogged pipes
A leak anywhere in the system makes the pump run nonstop because the water never reaches the shut-off pressure. Check all faucets, valves, hose bibs, and especially old fittings and joints.
Clogs cause the opposite problem—the pressure rises very slowly because water can’t move freely. Sediment filters, strainers, and older galvanized pipes are frequent trouble spots.
If there’s a leak or blockage, adjusting the switch won’t fix the pressure problem.
- Check the pressure switch contacts
Take a look inside the pressure switch.
You don’t need to be an electrician—just open the cover and look at the metal contacts.
If the contacts are burned, pitted, or covered in black marks, the switch may not turn the pump on and off reliably.
Safety Precautions
Before you adjust the pressure switch, always turn off the power at the breaker. This step is very important because the switch is connected to electricity. Never touch the switch or wires while the power is on. Make sure your hands are dry and stand on a dry surface to avoid electric shock. Use tools with insulated handles if possible. Do not force the adjustment screws, as too much force can damage the switch. If you hear strange noise, smell burning, or feel unsure at any point, stop the work and check the system again. Taking a few extra minutes for safety can help prevent serious damage or injury.
Tools You Will Need
1.Flat-head screwdriver
Most pressure switches use flat screws. This tool turns the adjustment screw to change the pressure setting. A small size usually works better.
2.Phillips screwdriver
Some switch covers use cross screws. This tool helps open and close the cover safely.
3.Voltage tester
This tool checks if the power is really off. It gives peace of mind before touching the switch.
4.Insulated gloves
These gloves protect hands from electricity. They also help keep hands dry and steady.
5.Flashlight
The pressure switch is often in a dark place. A flashlight helps people see the screws and wires clearly.
6.Clean cloth
Dust and moisture sometimes stay around the switch. A cloth helps clean the area before adjustment.
Step-by-Step: How to Adjust the Pressure Switch
How to Adjust the Pressure Switch
Open the switch cover
The pressure switch cover sits on top of the pump system. A small screwdriver usually opens it without trouble. Once the cover is off, the inside parts are easy to see.
Identify the main spring and the differential spring
Inside the switch, two springs are often visible. The larger spring controls the main pressure range. The smaller spring controls the pressure gap between on and off. Their size makes them easy to tell apart.
Adjust the cut-in pressure
The cut-in pressure decides when the pump starts. Turning the main spring screw clockwise raises this pressure. Turning it the other way lowers it. Small turns work better than big ones.
Adjust the cut-out pressure
The cut-out pressure decides when the pump stops. This setting also follows the main spring movement. A higher setting lets the pump run longer. A lower setting stops the pump sooner.
Adjust the differential (if needed)
The differential changes the distance between start and stop pressure. The smaller spring controls this part. A small turn changes the pressure gap slightly. Many systems work fine without touching this spring.
Test the pressure by running water
After adjustment, the cover goes back on. Power returns to the system. Opening a tap shows how the pump reacts. The pressure feel usually tells if the setting is right.
Recommended Pressure Settings
30/50:A 30/50 setting works well for small homes. Water pressure feels soft and steady. The pump starts early and stops at a lower level. This setting puts less stress on old pipes.
40/60:A 40/60 setting is common in many houses.Water pressure feels balanced for daily use. Showers and sinks work smoothly at this level. Many pump systems run comfortably with this range.
50/70:A 50/70 setting gives stronger water pressure. This range suits larger homes or long pipe runs. The pump works harder at this level. Pipe strength becomes more important here.
Maintenance Tips
Regular maintenance keeps the pressure switch working reliably and helps the pump avoid unnecessary stress over time.
1.Check the pressure tank once a year.
A stable air charge allows the system to hold pressure properly, which reduces frequent pump starts. During this check, small issues are often easier to notice before they become larger problems.
2.Keep the pressure switch contacts clean.
Dust and moisture can slowly build up inside the switch. When the contacts are clean, the switch works more smoothly and controls the pump more accurately. This simple habit often extends the life of the switch.
3.Replace the pressure switch when it shows signs of wear.
After several years of use, pressure switches may lose accuracy or respond slowly. Replacing an aging switch can restore stable pressure control and prevent sudden failures during daily use.
4.Pay attention to pressure gauge readings.
The gauge reflects how the system works during operation. If the readings are unclear or inconsistent, adjustments may be misleading. Clear and reliable readings make future pressure settings more dependable.
Conclude
When the pressure switch is set properly, the pump runs more smoothly and water use feels more comfortable. Right pressure brings comfortable water use and reduces wear on the system. Small and careful adjustments often give the best results. Regular checks keep the pump running longer and more reliably.If you’re unsure about pressure settings or choosing the right pump, you’re welcome to reach out and discuss your situation with us. Feel free to contact us for practical advice and suitable pump solutions.
FAQ
- Why does the pump start and stop too often?
This often happens when the pressure gap is too narrow. When the difference between cut-in and cut-out pressure is small, the pump reacts more frequently. - How do I know if the pressure setting is too high?
Water flow may feel unusually strong. You may also hear pipe noise or vibration when water is being used - How do I know if the pressure setting is too low?
Water pressure feels weak, especially when more than one tap is open. Showers may lose strength quickly. - Is it normal for the pressure gauge to move slowly?
Yes, gradual movement is common during normal operation. Sudden jumps or a stuck needle usually indicate a problem with the gauge. - Can wrong pressure settings damage the pump?
Over time, yes. Excessively high pressure makes the pump work harder and can shorten its lifespan. - Why does the pump not stop after adjustment?
The cut-out pressure may be set higher than the system can reach. In this case, the pump cannot build enough pressure to shut itself off.