I. Introduction
Solar water pump installers sometimes make mistakes while connecting them to wells. That means pricey repairs that have to be made. This article will show you how to do it right from the beginning so that the system functions well, lasts a long time, and doesn’t need to be repaired.
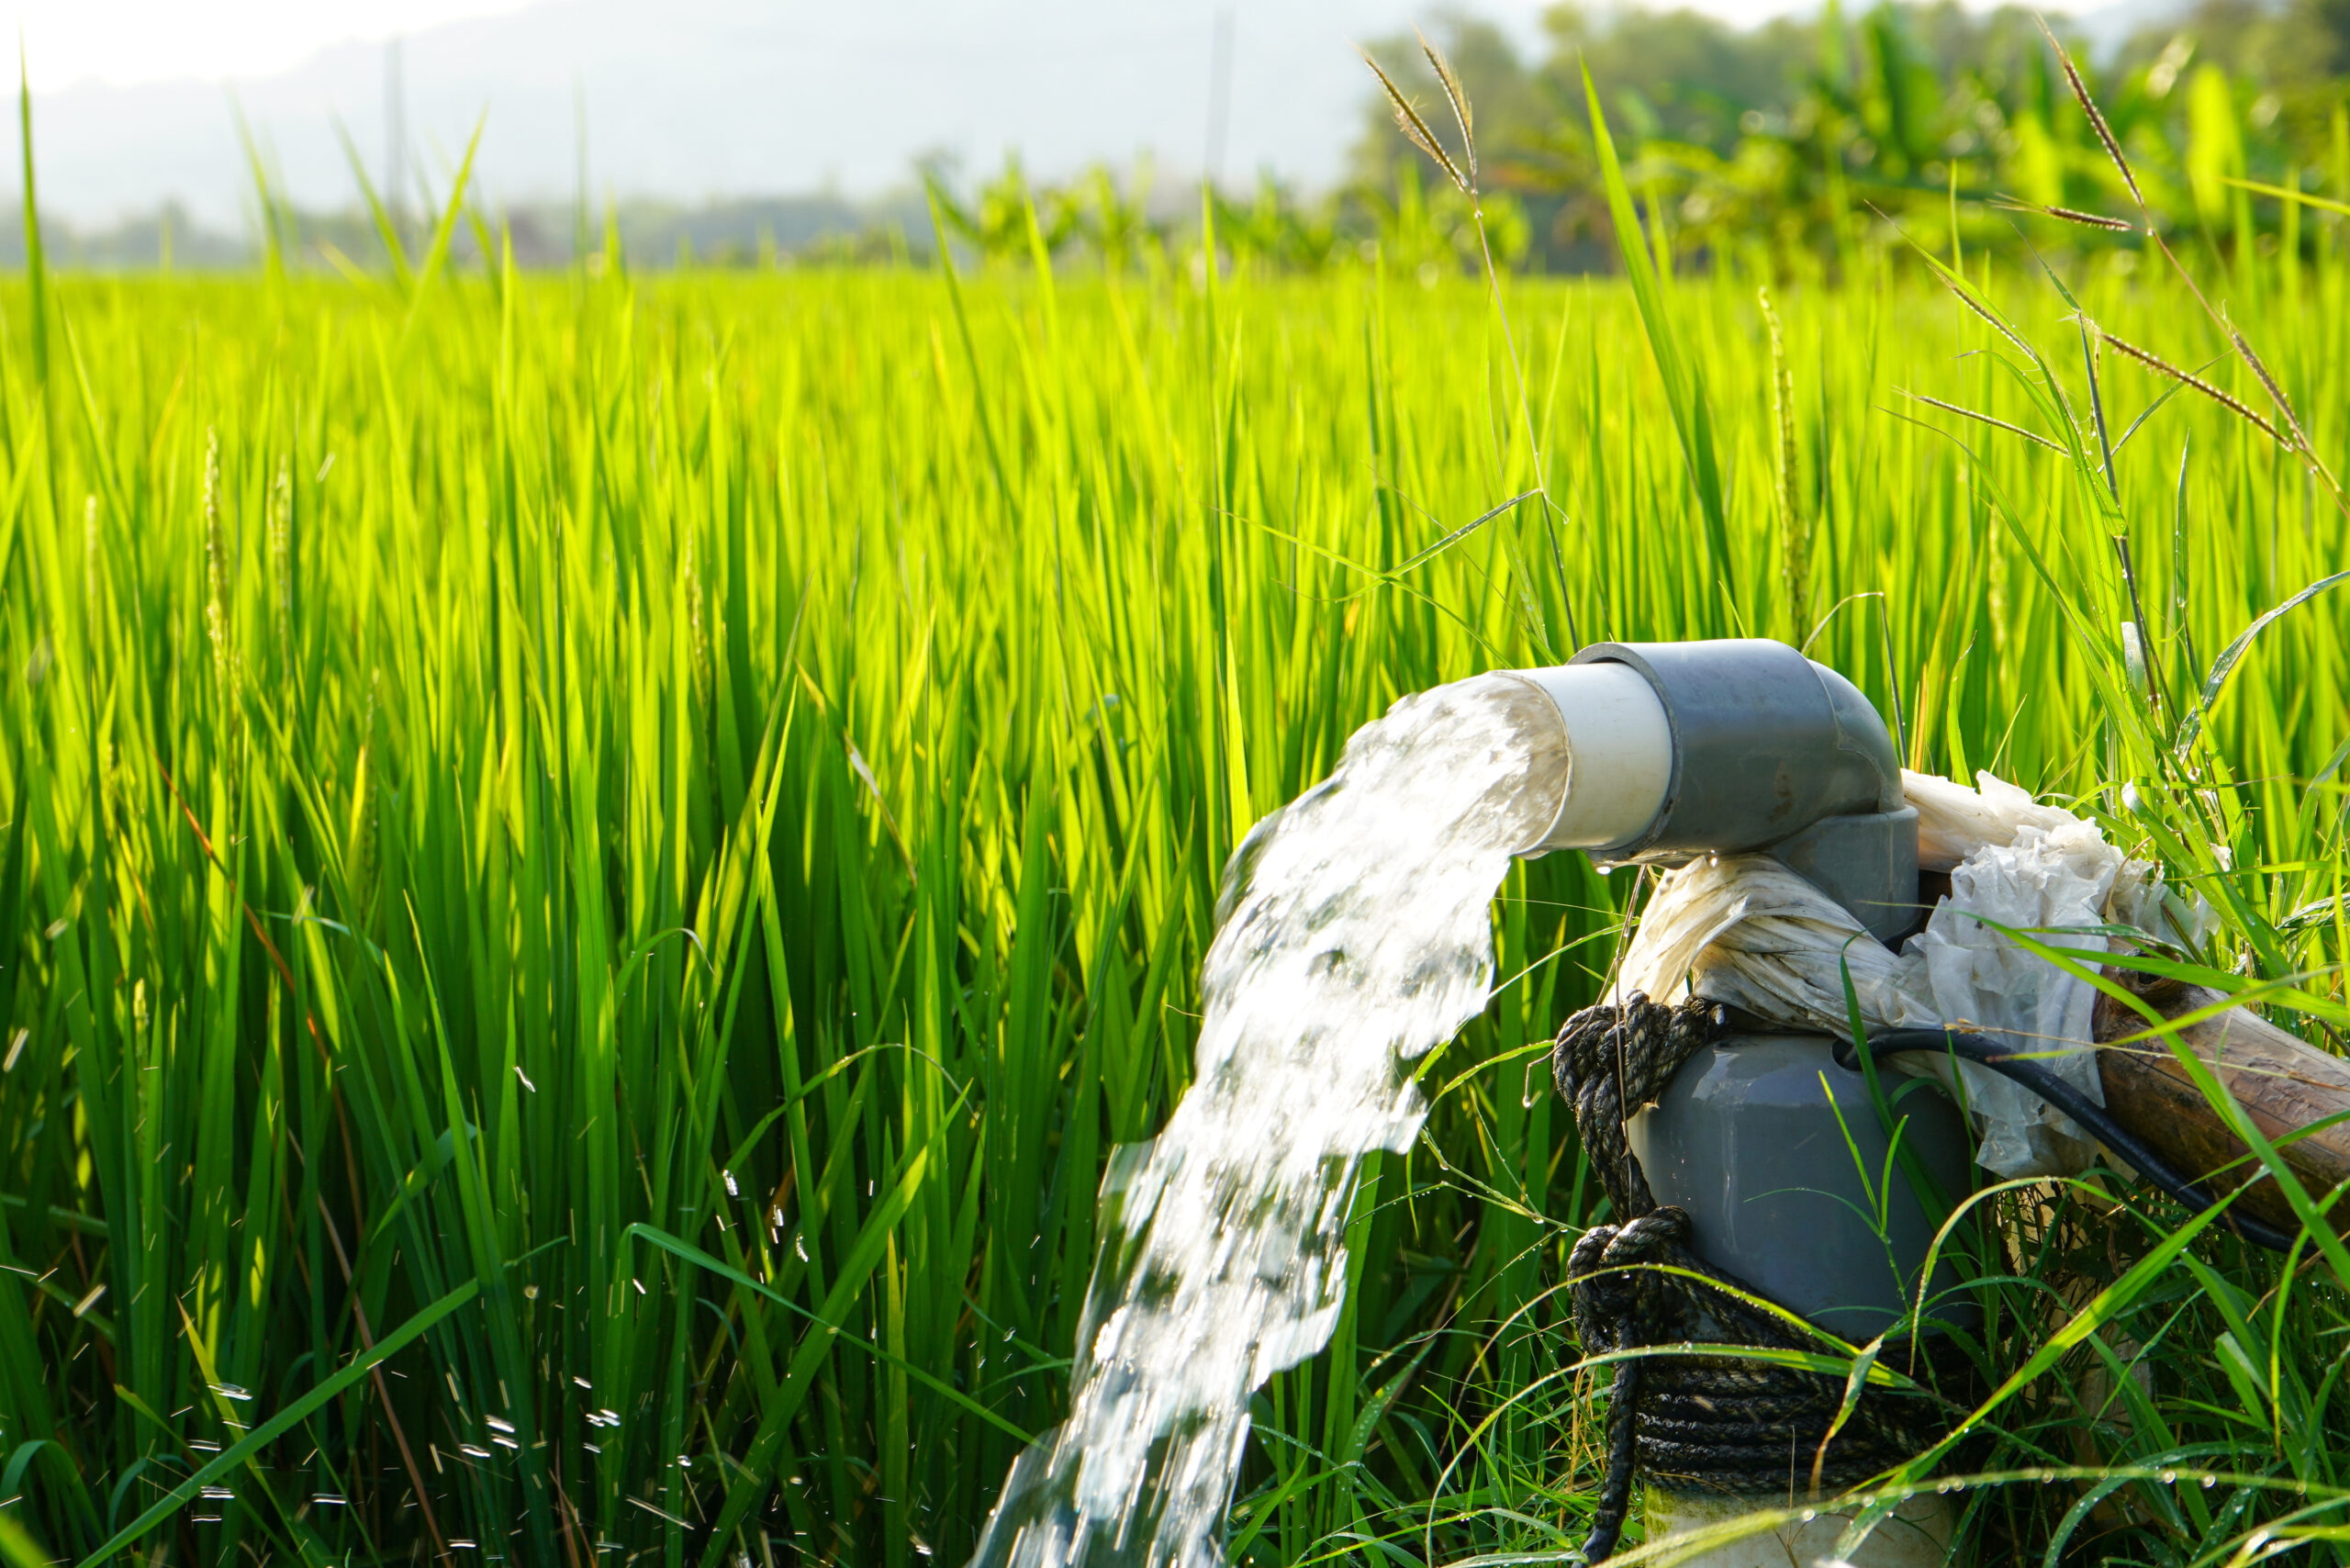
II. Step 1: Pre-Drop Preparation & Mechanical Setup
Some work is needed to have the solar water pump connected to the well. Checking the static water level and tying down the safety lines are both important and have a direct bearing on the depth of the installation and the safety of the equipment.
- Verify the Static Water Level: These statistics are used to determine the correct depth for installing the water pump. If it is too shallow, dry running and damage can occur. Efficiency is diminished, and head load is higher due to deep placement. The pump should be located between the dynamic water level and the bottom of the well so that silt does not enter the pump.
- Secure the Safety Rope: It must be made of a sturdy material that will not rust. One end is attached to the pump body, and the other end to the wellhead frame. The safety line is not the main thing that holds the weight, but rather a backup. It stops the pump body from dropping in the event of a pipe or connection break. It also facilitates future maintenance and prevents the breakage of tools.
III. Step 2: Electrical Wiring (The Make-or-Break Phase)
- Motor Connections: Please follow the picture attentively and connect the terminals one by one when wiring. If you don’t, the motor might not start or might run in reverse. All linkages should be well waterproofed and sealed, and cables should be long enough not to be under stress or get tangled.
- The Crucial Grounding Protocol: The installation is very crucial for the safety of the system; it has to be solid and fulfill all criteria. All controllers, motors, and metal structures should be grounded and connected to a good grounding electrode to successfully stop such threats as lightning strikes, power surges, and leaks.
- Solar Input: The controller should be able to read the output of the solar module, and the positive and negative inputs should not be reversed. It should also be equipped with a DC switch or circuit breaker for ease of maintenance.
IV. Step 3: Installing the “Insurance Policy” (Sensors)
Sensors are a “safety mechanism” for the solar water pump.
- Well Sensors (Dry-Run Protection): This device can sense changes in the water level of the well. In case the water level goes below a specific level, the sensor sends a command to the controller to shut the water pump. This keeps the motor from getting damaged from dry running and overheating. Placed in the lowest safe water level, the monitor sends a stable and reliable signal.
- Tank Sensors (Overflow Protection): This indicator checks the water level in the tank and prevents it from overflowing, and also automatically switches the water pump on and off. If the water level is higher than the upper limit, the machine stops pumping. The water level dips below the lower limit, and it starts pumping again.
V. Step 4: Solar Array Commissioning
Switching on the solar array affects the system efficiency and the performance of the water pump. Once in position, it needs to be verified one more time, and the color, the tilt angle, and the direction need to be altered for the optimum results.
- Panel Orientation & Tilt: For the Northern Hemisphere, face the photovoltaic panels south and slant them at the correct angle for their location. This will maximize the sunlight that strikes the panels. If the orientation and tilt angle are proper, then the power generation can be much more efficient, and the water pump will not become unstable, or the water flow will not go down because not enough power is being generated. After installation, human errors should be reduced to a minimum, and a compass or professional tools should be used for calibration of the system if needed.
- The Shade Check: This means that the solar panels are not blocked by buildings, trees, or other items during key times of the day, especially between 9 am and 3 pm. A bit of shading can make a big difference to the overall power consumption. This, in turn, requires close monitoring and assessment of the installation environment. This type of proactive problem-solving can keep the system from degrading and even prevent numerous start-stop cycles. This makes the water pumps work continually and steadily.
VI. Conclusion
Standardizing each step of installation and commissioning can realize stable system operation, effectively reduce rework, and reduce after-sales costs.
For wholesalers and integrators, choosing reliable products and technical support is crucial and can significantly improve project success rates. We offer mature solar water pump solutions, as well as technical help and bulk purchases. We accept your questions and help.
VII. Frequently Asked Questions (FAQ) for Solar Pump Installers
- What gauge wire is required when hooking up a deep well solar pump?
To make sure the DC voltage drop stays below 3%, use a voltage drop calculator that takes into account the motor current and the length of the wire.
- How do you properly waterproof the underwater splice on a solar pump?
For a lasting underwater seal that won’t let water in, you should always use a dual-wall, adhesive-lined heat shrink kit or a professional resin-filled splice kit.
- Why is my newly installed solar well pump motor running in reverse?
To stop a 3-phase DC brushless motor from turning, just switch any two of the three motor phase wires (U, V, W) at the controller connections.
- Where should the check valve be installed on a solar submersible pump?
To keep the pump safe from serious hydraulic water hammer, add an extra inline check valve every 30 meters on steep drops.
- How do you wire multiple solar panels to meet the pump controller’s requirements?
Make sure that the total Open Circuit Voltage (Voc) never goes over the MPPT controller’s limit. For higher voltage, wire in series, and for higher current, wire in parallel.
- Can I cut the MC4 connectors off my solar panels to wire the controller?
Do not cut them. Use the right MC4 extension cables to keep the array waterproof and stop DC arcing, which can be risky.
- Do I need a torque arrestor when dropping a DC solar submersible pump?
Yes, clamp a rubber torque arrestor just above the pump to keep the case from turning and chafing the wire violently when the engine is first turned on.
- Can a solar well pump be connected directly to a pressurized bladder tank?
Yes. To keep the pressure in a bladder tank steady, connect a normal mechanical pressure switch to the sensor terminals on the controller.
- How far above the solar pump should the low-water sensor be mounted?
To make sure the dry-run monitor works safely, attach it to the drop pipe about 1 to 2 meters above the pump’s intake screen.
- What happens if the solar array Voc exceeds the pump controller’s maximum limit?
If the maximum Voc is exceeded, especially during voltage spikes in cold weather, the MPPT controller’s internal capacitors will be destroyed right away.
- Do I need a separate DC disconnect switch for a solar water pump?
Yes. Put a double-pole DC disconnect switch between the controller and the solar array to keep them safe while you do repairs.
- How do you ground a solar well pump system if the well casing is PVC?
Drive a copper grounding rod close to the controller and connect it directly to the Earth (E) terminal. Do not depend on the well casing made of plastic.
- What causes a solar pump controller to display a “Low Power” fault in full sun?
This means there is a big drop in voltage, which is usually caused by using AWG wire that is too small for a long run or an underground splice that has corroded.
- Can a solar pump operate without installing the well water level sensors?
Connecting the terminals together does work, but it turns off the dry-run safety, which means that if the well runs dry, the motor could fail catastrophically from heat.
- Can I use standard PVC pipe for a deep well solar pump drop pipe?
For short wells, use Schedule 40 PVC. For drops over 50 meters, however, switch to flexible HDPE or threaded galvanized steel to handle the weight.
- How do you route the solar pump pipe through the side of the well casing?
For a clean, secure exit through the side of the casing, put in a brass or stainless steel pitless adapter below the frost line.
- Will a solar water pump automatically restart after a cloud passes?
Yes. The MPPT controller keeps track of the amount of sunlight hitting the solar panel and will instantly speed up the motor when the sun comes back out.
- Can I hook up an AC generator to my DC solar pump controller?
AC power can’t be used with regular DC controllers. For backup generators, you need to use an AC/DC Hybrid Solar Controller or an external transformer.
- How do you protect the solar pump wiring from lightning strikes?
For safety, connect a Type 2 DC Surge Protective Device (SPD) to the controller and the array. This will send high-voltage lightning shocks to the ground.
- Is it safe to connect a 12V or 24V battery directly to the solar pump motor?
No, brushless DC pumps need three-phase commutation from the processor. Connecting the battery directly to the pump will not turn the impeller and could hurt the stator.